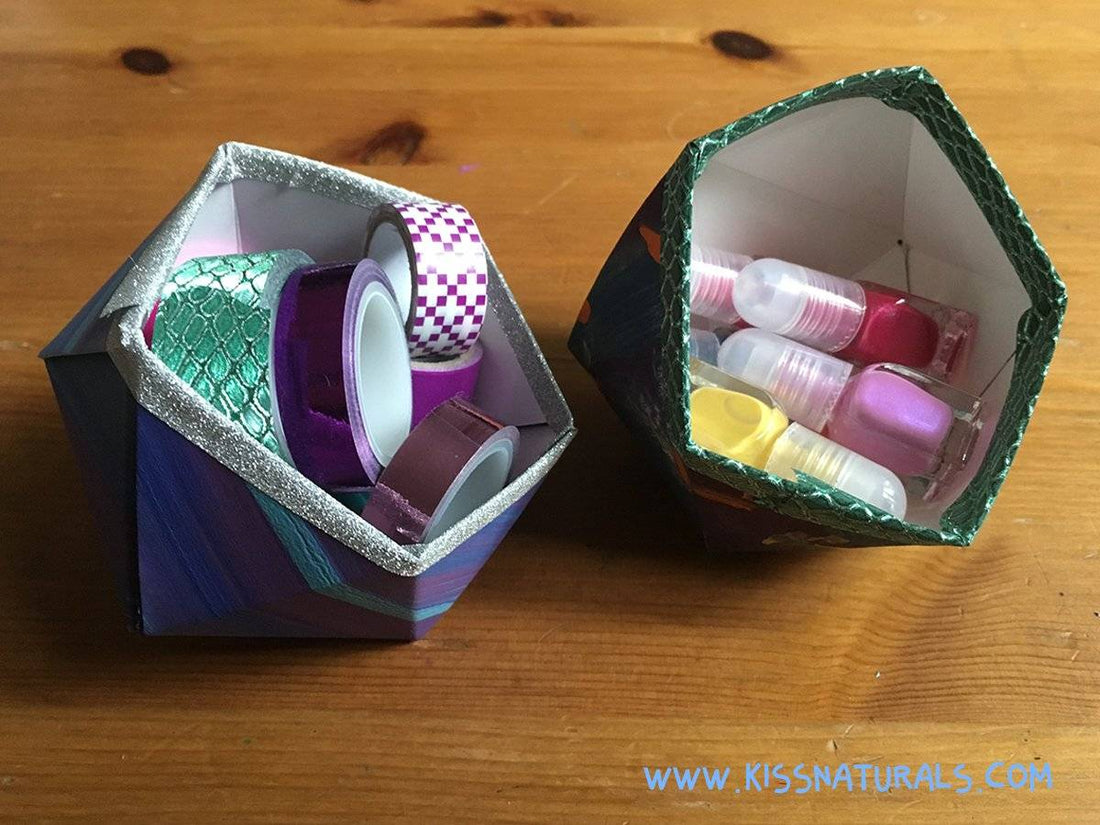
Who doesn't love a decorative box to organize trinkets like jewelry, coins, and general desk stuff? Today, we're going to upcycle the packing that comes with a Kiss Naturals DIY craft kit into something adorable and practical!

DIY Geometric Bowl Upcycle
Share
VIDEO TUTORIAL BELOW
Click the image to download the free template.
Supplies Needed:
- A Kiss Naturals box (alternatively, you may grab something of a similar size from you recycling bin!)
- A copy of our free printable template (click here to download)
- Something you can put paint in (also from the recycling bin)
- A few of your favorite colors of paint
- Paintbrushes (various sizes)
- A pizza cutter (we'll explain!)
- Hot glue gun & glue stick (be careful with these!)
- Marker, pen or pencil
- Scissors
- A Ruler
- Washi tape
- Adult supervision
How To Do It:
- Open up your empty Kiss Naturals box by cutting along the seams. We'll be using one of the big panels today.
- Using a few of your favorite colors, cover the printed part of the box with paint. Decorate to your heart's desire! Leave it to dry completely before moving on to the next step.

-
Print and cut out the geo bowl template.
- Place the template on top of your box panel. Trace around it.
- Cut along the lines.
- Put the template back on the piece you just cut out, this time on the unpainted portion. Working your way around, mark with a tiny dot where the lines connect.
- Referring back to the cut-out for guidance, line the ruler up, horizontally, starting from the stop, just under the "ears" of the cut-out. Using a pizza cutter, and little bit of weight, mark a straight line across. You should be able to fold the little "ears" up fairly easily.
- Continue scoring the lines on your box, referring to your template once in awhile to make sure you marked everything.
- Referring back to your template, mark the lines next to each number where you see a pair of scissors. Then cut.
- Time to glue! First, gently fold along each of the marks we scored with the pizza cutter. Then, wherever there is a tab, glue it to down to the area closest which creates a bowl shape. Watch the video for a more detailed visual of how to do this.
- Once you've finished gluing, let's polish finish the edges with washi tape! We do this by wrapping the top of the bowl, leaving a lip of washi tape all the way around so we can fold and tape it onto the inside of the box. Then we pinch the tape down on both sides.
Looking great!
Did you enjoy this tutorial? Share yours on instagram with the hashtag #knupcycles! For even more tutorials, visit our blog. And if you'd like to stay updated, join our mailing list below!