VIDEO TUTORIAL BELOW

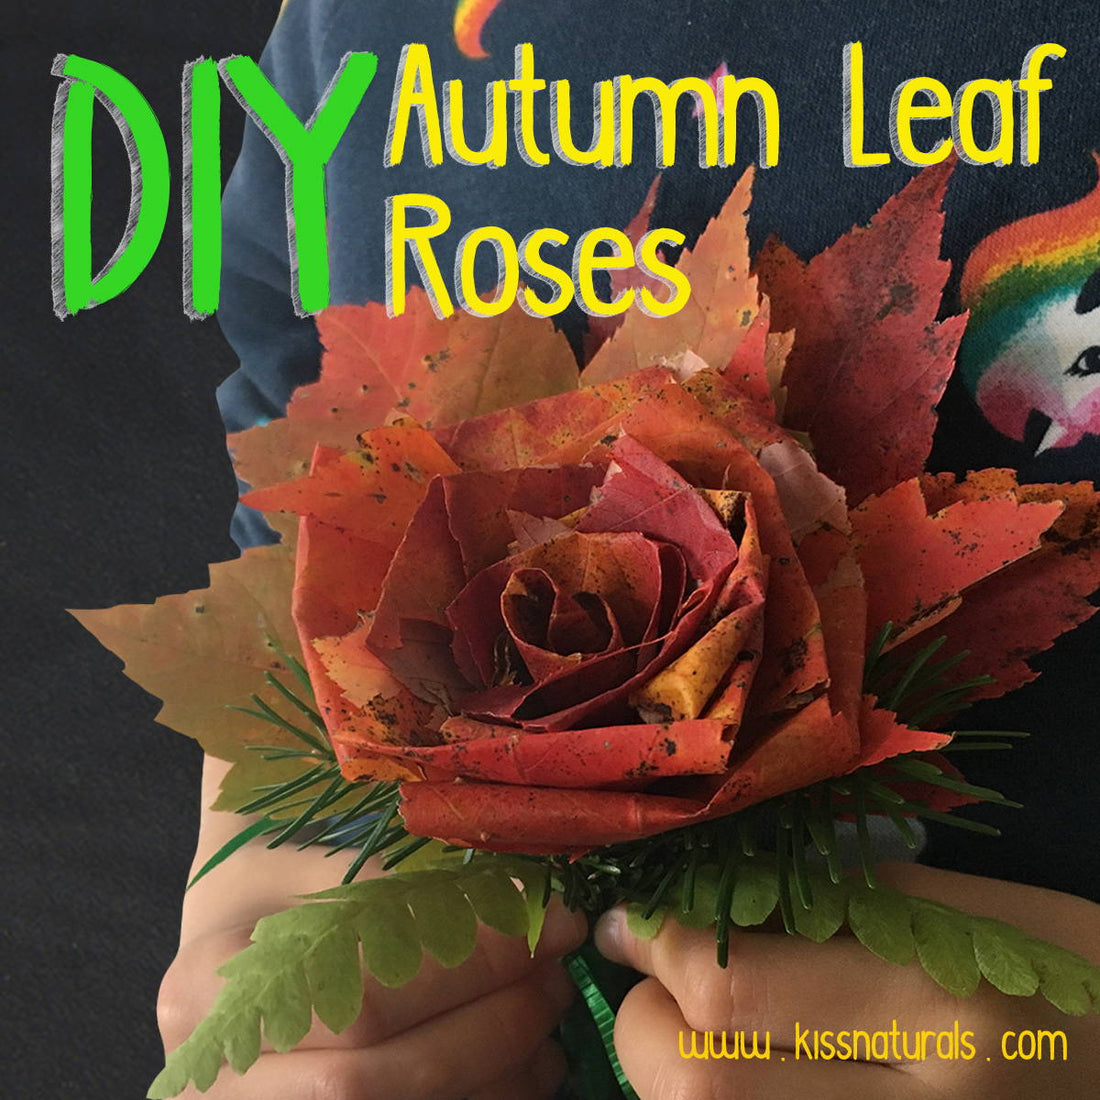
DIY Autumn Leaf Roses
Share
Fall is here! While we might be less excited about the upcoming cooler temperatures, we are definitely thrilled to see the leaves change color! The maples in Quebec are quite a sight this time of year. Here are some pictures to prove it. Merci, Mr. Alain Audet.


Now, to the tutorial. Just what does one need in order to make a single rose from tree leaves?
- Patience. It does take a little time to get good at this, but like anything worth doing, practice makes perfect.
- 10 – 20 leaves (with stems) of varying size and color. Maples of nearly any variety works well for this. So do most birch and aspen leaves.
- A rubber band.
- Ribbon and Scissors (optional)
Here we go.
Start with your smallest leaf. This will be the center of your rose. Holding it upright so the stem is pointing down, fold the tip of the top backward, then roll the leaf into a little roll.
Gradually working your way up in size, continue adding “petals” in the following way:
MAPLES: With the beautiful side of your leaf facing away from you, fold the top and sides of the petal inwards, creating sort of a rounded shape. Carefully wrap your new petal around the rose.
BIRCH & ASPEN: Simply fold the top of the leaf backward with the prettier side facing toward you.
Continue rotating the rose flower a quarter of a turn as each new petal is added.
Once you’re satisfied with the size and shape of your rose, add a large accent leaf or two to one side, securing everything with a rubber band.
Voila!
Now, for the final result.
See the video for more detail! And if you tried this DIY and enjoyed it, be sure to tag us! @kissnaturals